Flux Can Cause I.R. Failures or Shorts (HV Failure)


|
Test Results:Failures indicated while testing the cable
Necessary Conditions:Must be present for this problem to occur.
Aggravating Conditions:Conditions that could contribute to, or worsen, the effects of this problem.
Root CauseFlux on the surface of the insulator part of the connector, between contacts. Flux is a “leaky insulator” which can provide a current path. It creates problems only when bridging between connections that should be insulated, causing a low level leakage of current. Flux on the contact itself does not cause this problem. |
Understanding the Failure Mechanism:
- Flux can also cause continuity failures when it gets on contact surfaces, but this does not cause IR and leakage failures. See our (Flux Can Cause Defects in Cables, article) for more information on continuity problems caused by flux.
- Flux needs only to be present in trace amounts to cause leakage problems.
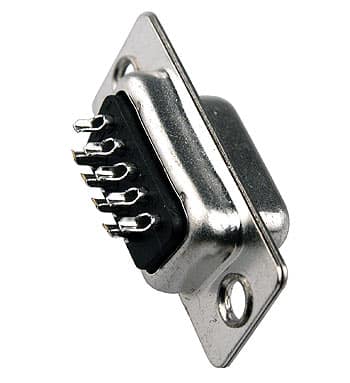
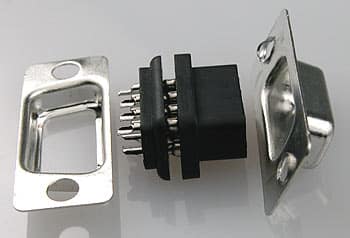
- Many connectors have two-part insulators, or gaskets, that obscure some of the insulating area between contacts. Cleaning solvents may actually cause flux to migrate/carry into these areas where it cannot be seen.
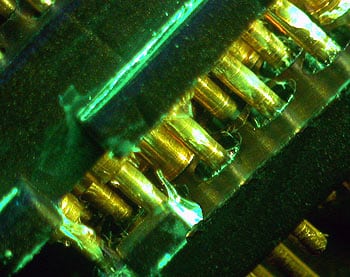
- Rosin and water-soluble flux may be visible as a translucent brown tint or white powder on the insulating surface between contacts.
- No-clean flux can be perfectly clear and invisible and may be designed to cure with elevated temperatures. After curing, this flux will become resistant to almost all solvents including all alcohol-based solvents that would otherwise remove flux. Remember ‘no-clean’ means ‘can’t clean’!
Confirmation of Root Cause:
One or more of the following might be used to verify the defect
- Inspect the insulator part of the connector with a UV light, comparing a new (never soldered) connector with the connector of a suspect assembly. Flux contamination, which may be invisible to the naked eye, will show up under UV light. Wearing filtered glasses while using a UV light, as auto mechanics do to identify refrigerant leaks in Air Conditioning systems, works great and costs about $50. This is a great addition to your diagnostic toolbox.(Search Amazon’s website for UV Lights)
General Recommendations:
- If you will be removing flux, be sure that solvents drain away from any contact insulator areas of the connector. Never allow solvents or water to drain into the connector body. If there is any chance of flux-contaminated solvent wicking into these areas, flush them with fresh solvent.
- Use flux in paste form or in the core of the solder where possible. If liquid flux is used, limit it to the smallest amount that will do the job.
- Never use a no-clean flux, in liquid form, for any purpose in a cable assembly.
- Never expect to remove a no-clean flux with solvents after soldering or heating (unless you have verified that you can).
- Trying to remove water-soluble flux with tap water may replace flux contaminants with the ionic contaminants in the tap water. Use de-ionized water where possible, distilled water if nothing better is available.
- If solder is only used on the shielding of an assembly with crimped connectors, do not attempt to remove the flux.
| Case Study | ||
ProblemA customer reported problems with IR leakage failures in a molded cable assembly with crimped, not soldered, contacts. After the first-shot over-mold a foil shield was added, then the final cosmetic over-mold was shot. The foil seams were soldered, then the foil was soldered to the shield of the jacketed cable. The assembly was then cleaned in alcohol to remove the flux. No significant IR failures occurred, until a new operator took over production of the assembly. Then cables started failing the pre-test; before the final cosmetic over-mold was applied. Most cables would pass, but a higher than usual number were failing, especially on humid days. They could get them to pass after heating the connector with a heat gun. By morning of the next day they would fail again. |
DiscoveryThe first shot mold did not provide a good seal (voids were present). The new operator ignored this, whereas previous operators would touch up these voids with hot glue before adding the foil. When alcohol was used to remove the flux from the shields, some flux was seeping through the voids in the pre mold. It would then cause hipot IR failures, which were exacerbated by higher humidity. Drying the cable with a heat gun would help temporarily, but the cables would fail again as the humidity increased. |
SolutionOnce the cause was identified, training the new operator to seal the voids in the pre mold prevented the seepage, and solved the problem. |

